So, you're thinking about blown-in insulation for your Grand Prairie home. Smart move. It's one of the best investments you can make for comfort and energy savings, especially with our scorching summers and those surprisingly chilly winter snaps. But I get it, any home improvement project can feel a bit overwhelming. You're probably wondering, "What's this actually going to look like? How long will it take?" Let's walk through it.
Your Blown-In Insulation Project Timeline
You're not signing up for a months-long renovation here. Most blown-in insulation projects, especially for existing attics, are pretty quick. From your first call to a completed job, here's a typical breakdown:
- Initial Contact & Consultation (1-3 business days): You reach out, we schedule a time to come out. We'll assess your current insulation, measure your attic, and discuss your goals. We're looking at things like existing R-value, any signs of moisture, or areas where pests might have been an issue.
- Quote & Decision (1-5 business days): We'll get you a detailed quote, usually within a day or two of the visit. Take your time to review it, ask any follow-up questions, and compare. Don't rush this part.
- Scheduling the Work (1-2 weeks out): Once you give us the green light, we'll get you on the schedule. Good contractors are often booked a week or two in advance, especially during peak seasons like early summer or fall.
- Installation Day (1 day): This is the big one. Most residential blown-in insulation jobs are completed in a single day. We're usually in and out before you know it.
So, from start to finish, you're generally looking at about 2-3 weeks, with the actual work taking just hours.
What to Expect During the Process
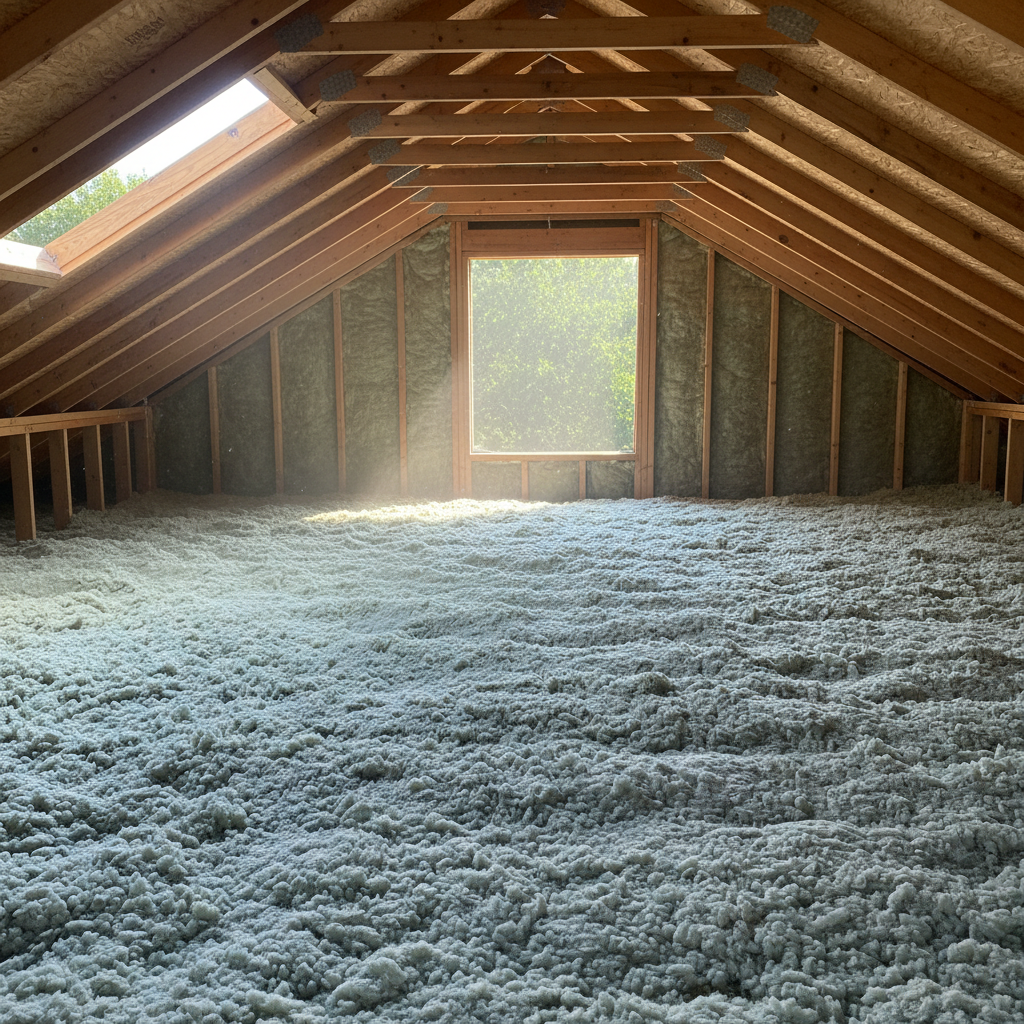
On installation day, our crew will show up ready to work. We'll typically lay down drop cloths and take precautions to keep your home clean. The main work happens in your attic. We'll bring in our blowing machine, which stays outside or in your garage, and run a long hose up into the attic. This is how we get the insulation material where it needs to go.
You'll hear some noise from the machine, and there might be a little dust, but we do our best to contain it. Our guys are trained to work efficiently and safely. We're not just spraying insulation; we're making sure it's evenly distributed to the correct R-value, getting into all those nooks and crannies. If we're doing attic air sealing first, that'll happen before the insulation goes in. This step is crucial for stopping drafts and making the insulation work even better, especially around things like recessed lights or where plumbing vents penetrate the ceiling.
When we're done, we'll clean up any mess we made, pack up our equipment, and do a final walkthrough with you. We want to make sure you're happy with everything before we leave.
How to Prepare Your Home
You don't need to do a ton, but a little prep goes a long way:
- Clear the Attic Access: Make sure the path to your attic hatch or pull-down stairs is clear. Move any furniture or boxes that might be in the way.
- Protect Valuables: If you have anything stored in the attic that you don't want covered in a fine layer of dust (even with our best efforts, some might escape), either move it out or cover it with a tarp.
- Pets & Kids: It's usually best to keep pets and small children away from the work area during installation. The noise can be unsettling, and for safety, it's just easier if they're not underfoot.
- Parking: We'll need a spot for our truck and equipment, often near an exterior wall close to your attic access.
That's really about it. We handle the heavy lifting.
Key Questions to Ask Before Signing a Contract
Before you commit, make sure you've got all your questions answered. This isn't just about price; it's about peace of mind and knowing you're getting a quality job. Here are a few I'd recommend:
- What specific R-value will you be installing? Don't just accept "more insulation." Know the target R-value. For Grand Prairie, I often recommend R-38 to R-49 for attics, depending on your current situation and home's age.
- What type of blown-in insulation do you use (cellulose, fiberglass)? Each has its pros and cons. A good contractor will explain why they recommend one over the other for your specific situation.
- Will you be performing any air sealing before insulating? This is a big one. Just adding insulation without sealing air leaks is like putting a warm coat on a sieve. It's less effective. Make sure they include this.
- How do you protect my home during the installation? Ask about drop cloths, shoe covers, and cleanup procedures.
- What's your warranty on the materials and the labor? You want to know you're covered if something goes wrong.
- Are you licensed and insured? Don't ever skip this. You need to know you're working with a legitimate business like Oasis Insulation that's protected.
- Can you provide references or show me examples of similar work? A reputable contractor won't hesitate.
Asking these questions helps you understand the scope of work, the quality you can expect, and ensures you're working with a professional who knows what they're doing. Doing your homework now will save you headaches and money down the road. You'll be glad you did when your AC isn't running non-stop next July, even with that brutal Grand Prairie humidity.